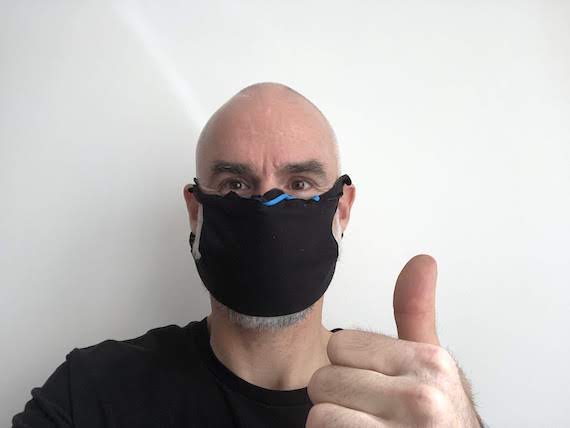
In the much mask era of the new coronavirus, we’re all getting crafty to protect ourselves against the spread of COVID-19. My no-sew how to guide to making a mask is based upon this Instagram post from Luke Geissbühler. I’m guessing you all know this is not an N-95 mask or anything near it; at best it will help with containing those bodily fluid droplets about which we’re all learning too much as of late.
Before we get into the details of making this simple mask, I want to sneak in a humble request for you to think about the government and health care systems we Americans have designed for ourselves. The United States didn’t have to respond so poorly to this epidemic. We made it that way. It is no accident that we have one of the most expensive health systems in the world, and yet spectacularly fail to provide care. We made it that way. It is no secret that using capitalism’s cudgels of profit and growth and its unfree market to structure every human activity will kill most of us so a few of us can get a yacht. We made it that way.
If we made these structures, we can unmake them. We can and should build new health, political, and economic systems that do what this joint project called a society is supposed to do: support, protect, and nourish all of us as we confront our mortality and suffering, not brutally use us to create delusional playgrounds of escape and modern kings whose crowns are made of green instead of gold.
Thank you for indulging me. Now go make a shield for your pie hole!
Step 1: Gather the materials you’ll need
Here’s the list:
- An old t-shirt or other source of fabric that is a bit stretchy.
- Scissors.
- A pen to mark the cutting guidelines on your shirt.
- A ruler.
- Coffee filters. I used size 2, but a larger size would likely be a better fit and provide more coverage.
- Rubber Gear Tie twists from Nite Ize or something similar. I used the 6″ length, but something a bit longer makes it easier to keep it in the mask’s holes. This will keep the mask on the bridge of your nose.
Step 2: Measure and mark a 9 inch by 12 inch rectangle on your t-shirt
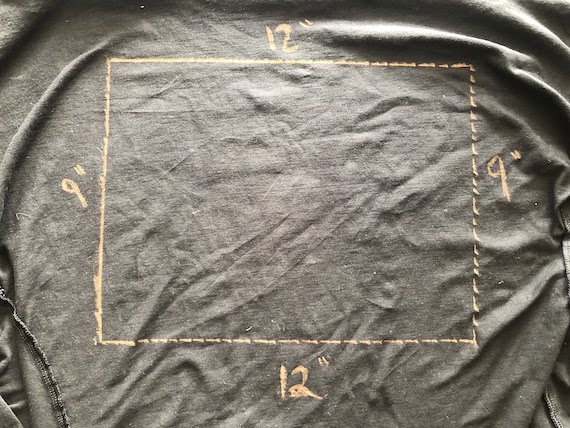
You may want to adjust these dimensions, depending on how the mask fits your particular face.
Step 3: Cut out your mask rectangle and fold it in half along its height
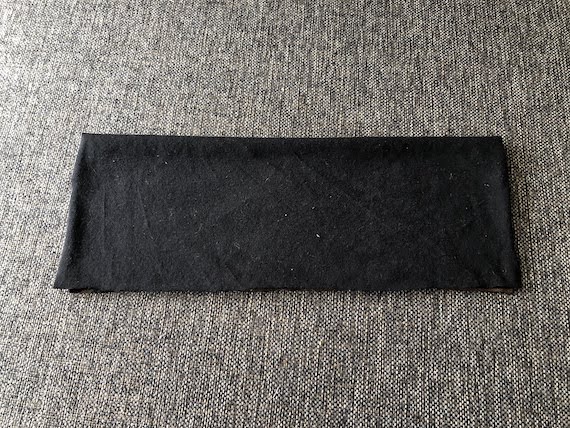
With this fold, the height of the mask will be 4.5 inches.
Step 4: Fold the mask in half along its width
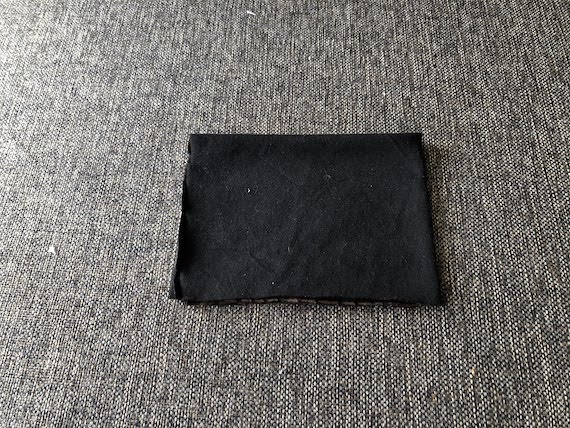
This will make the mask material 6 inches wide.
Step 5: Trim the loose-end corners to make them round
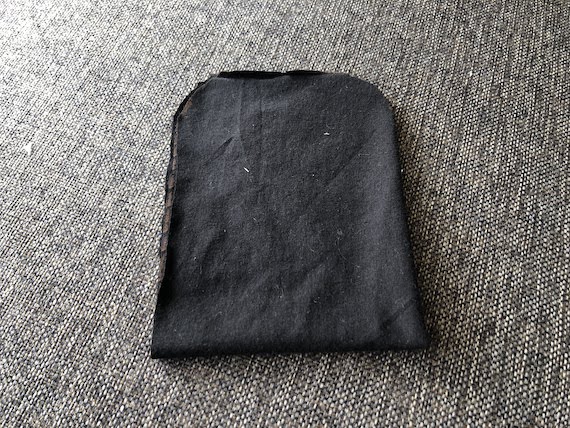
You’re making the loops that go around your year. It may be obvious, but make sure you’re cutting the corners that are not along the fold (if you do that, you’ll just make cuts right in the center of the mask).
Step 6: Fold over the top edge with the rounded corners you just cut
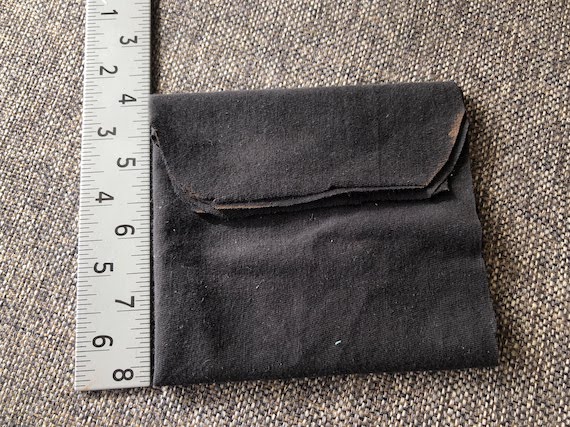
Fold the newly rounded-corner top edge down on itself. I typically do the fold so the edge of the fabric goes down about 1.5 inches.
Step 7: Trace a curve about 1/4 inch wide along the curve of the mask. Then cut it out.
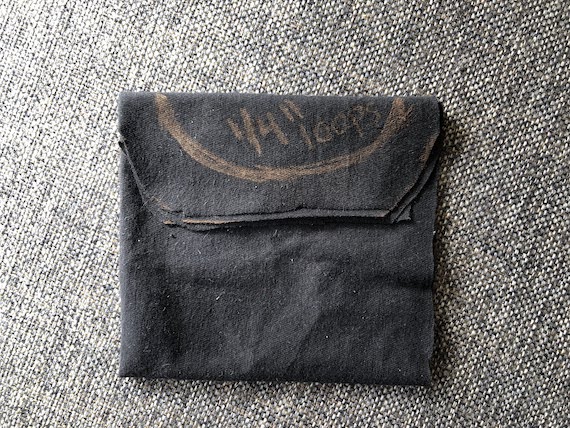
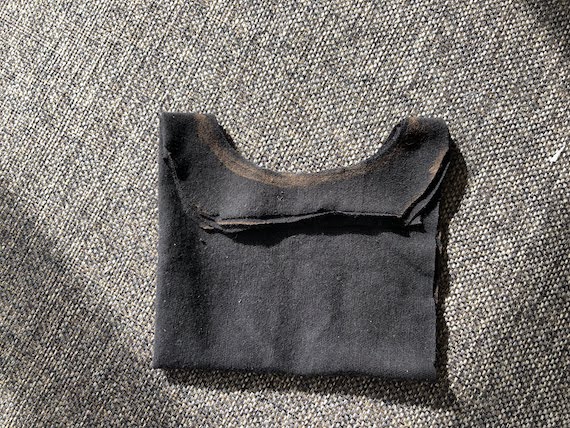
This will give the loops a shape that better conforms to your ear.
Step 8: Unfold your mask along its width to see your glorious loops come to life
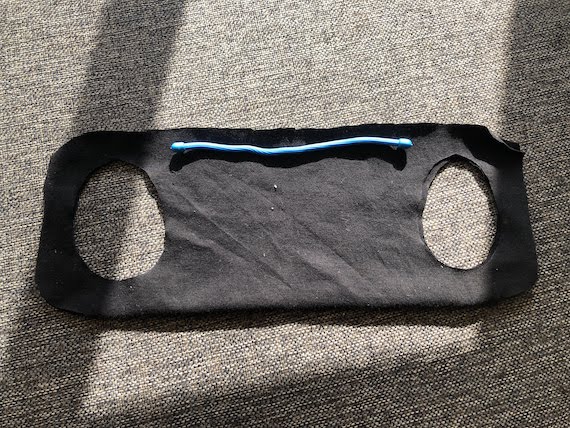
I also put my Nite Ize reusable rubber Gear Tie twist along the top of the mask. We will add three holes near the top of the mask’s edge that loose and open, and is not the fold. The rubber twist will then weave through these holes to hold the mask onto the bridge of your nose.
Step 9: Cut three holes through both layers near the top of the loose mask edge without the fold

Step 10: Unfold your mask along its height and place in your trimmed coffee filter
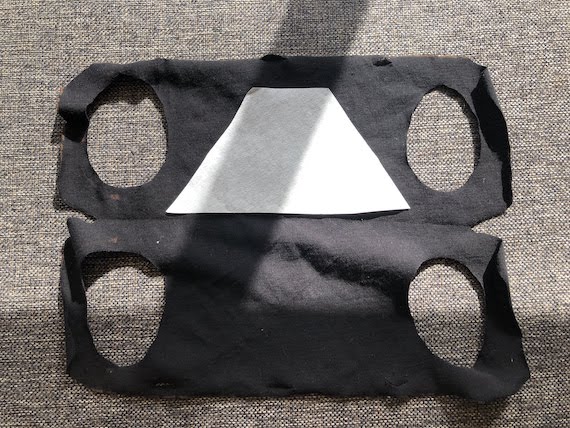
The No. 2 coffee filters I used were a bit small, but still more or less worked. I did cut them in half, rather than just throw the whole thing in there. I also had to trim the shape a bit to make it fit inside the mask better.
Step 11: Fold up your mask to its sealed position and weave the rubber twist through the holes
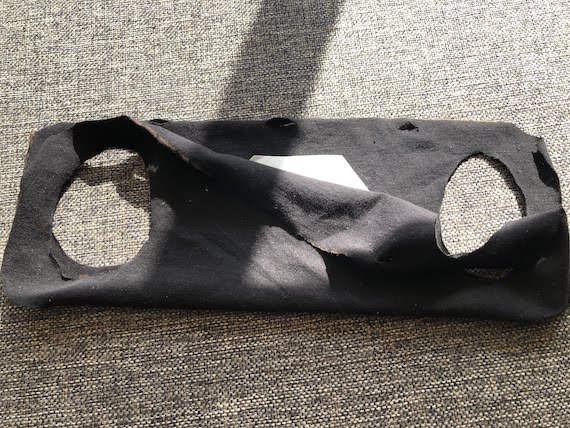
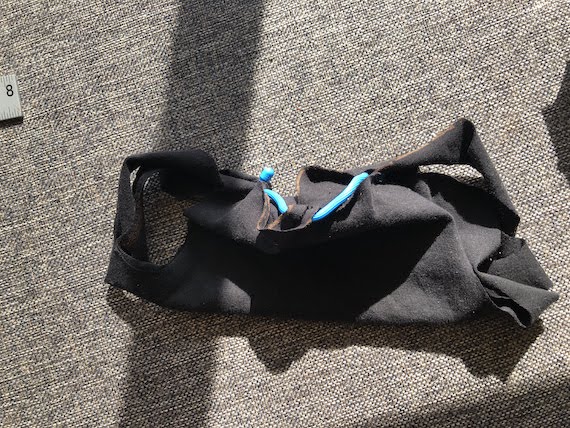
Step 12: Put on the mask and adjust the rubber twist to fit the bridge of your nose. And still keep six feet between yourself and others!
